Testing a call script

What we'll cover
In this article we'll go over how to test a call script to ensure it is functioning as intended and is responsive to the expected voice prompts. Generally, this should be done when a new call script is created or an existing call script is updated.
How to test a call script
- Begin by navigating to the live call page as shown below:
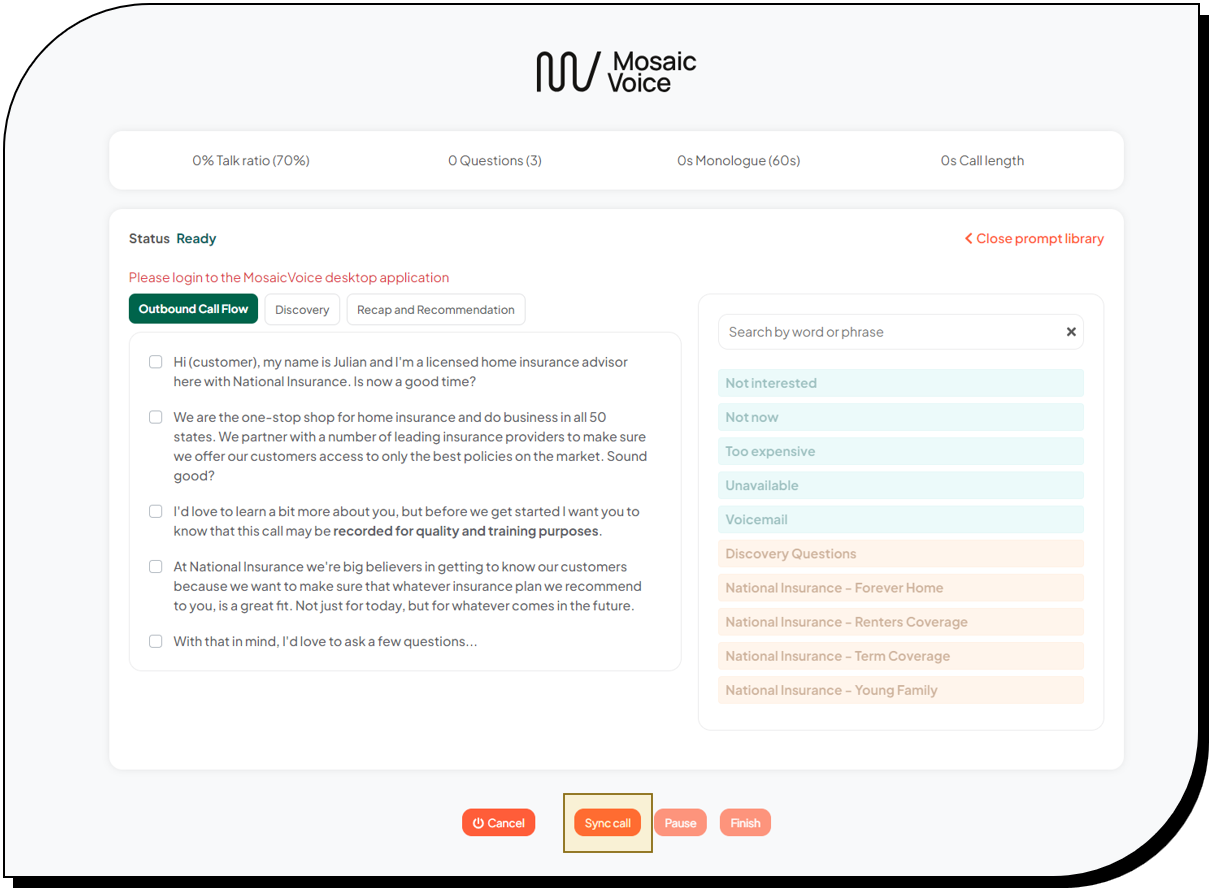
- Once on the live call page, scroll to the bottom to identify the Sync call button. Clicking this button has the same effect as initiating a call through the dialer. MosaicVoice will begin listening to agent audio.
If you do not see the Sync call button, the feature can be turned on by navigating to: Call maps > Select the call map you would like to test > Edit > Advanced > Enable manual start > Save.
- Once the Sync call button is clicked, begin reading the call script as if you were an agent placing a call. If the script is functioning correctly, the items should turn green when read.
- To complete the test, click Finish. This has the same effect as ending a call in the dialer. The call recording will be uploaded to MosaicVoice and scored while the call details page is being prepared.
To review the details of your test call, navigate to the dashboard and select the test call from the list of calls placed.
How to test customer-side prompts
Clicking the Sync call button has the same effect as placing a call through the dialer. However, because there is no counterparty, customer-side audio must be tested another way. Some examples include:
- A video conference (e.g. Zoom, Teams) in which the audio is shared. The other video participants can play the role of the customer
- Using a free text-to-voice app to simulate customer dialogue
- Playing a YouTube video to capture video audio as sample customer dialgue